Monday, January 31, 2011


{ Another Cloth Wreath }
This one I made for my guest bathroom, it is Brown & blue polkadots.
 First I took a wire hanger & bent it so it was round.


I used some fabric & ribbon.  

Cut the fabric into strips, I tried to make sure that they aren't perfect. 

 Tied them around the wire hanger.


 Tied ribbon around it. 
& hung it in my guest bathroom. 

Saturday, January 29, 2011


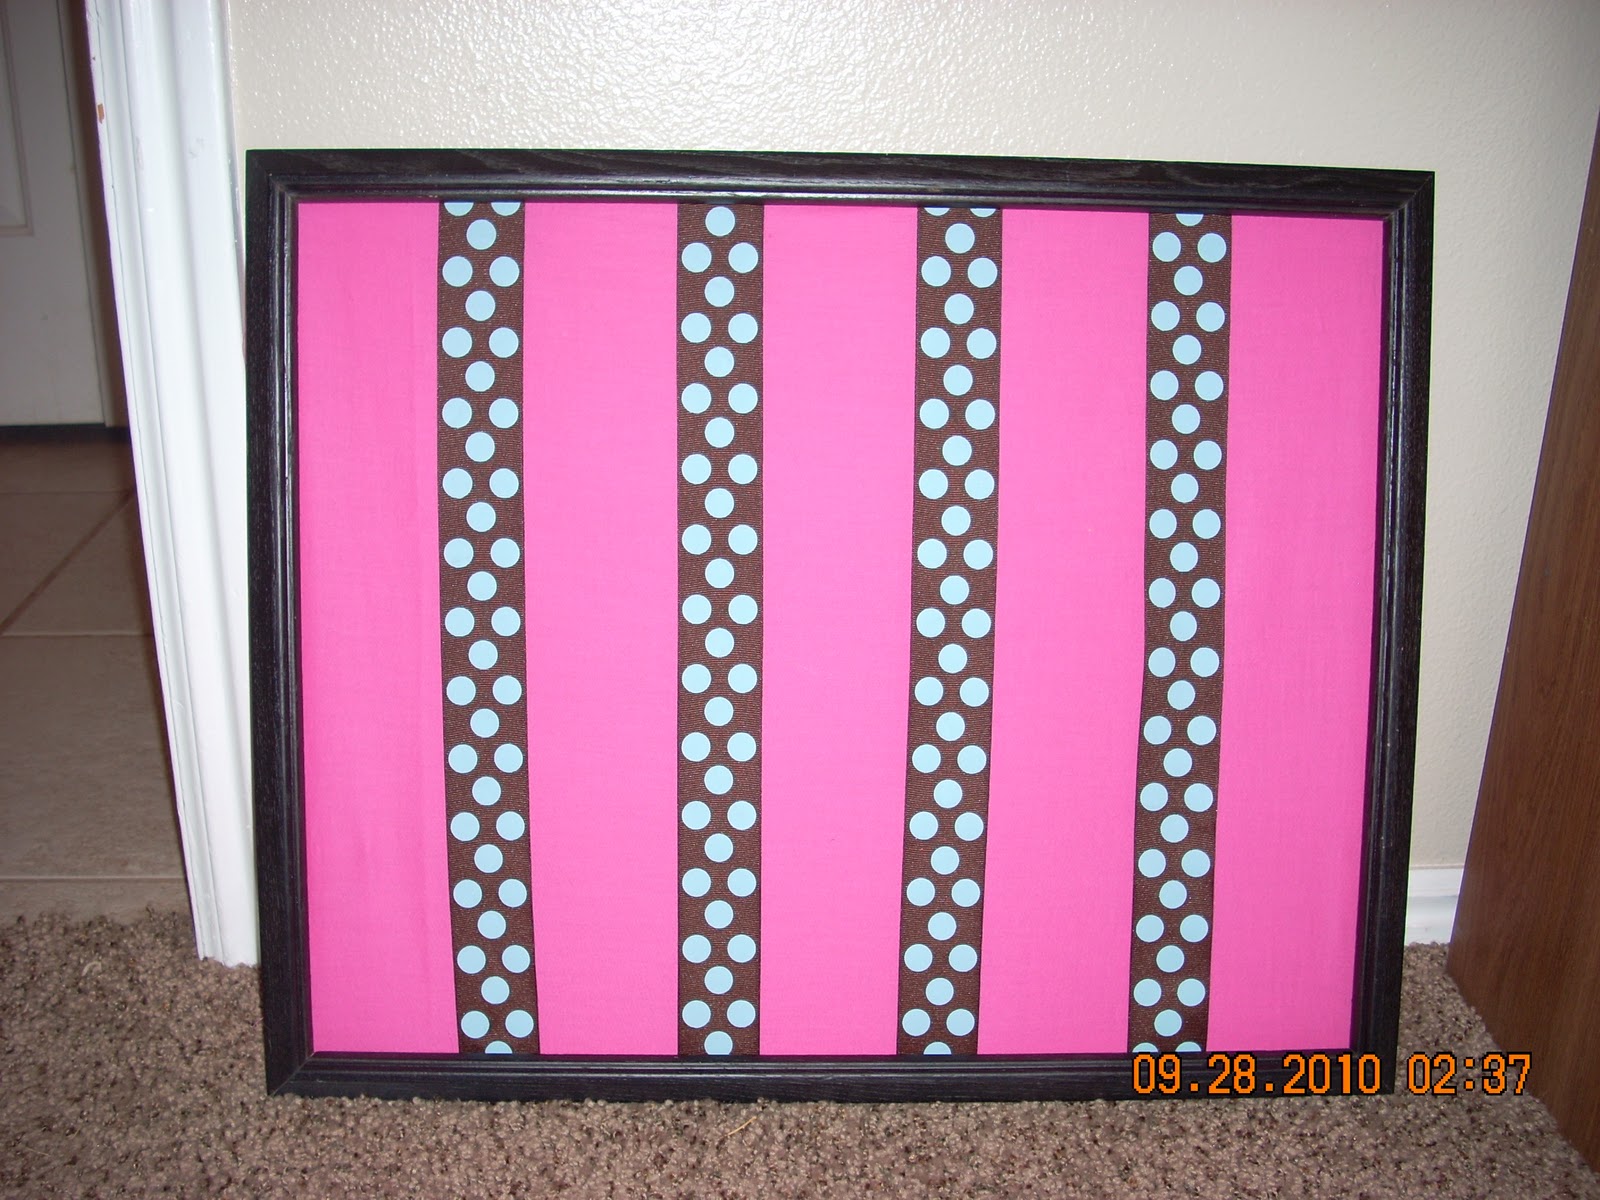
{Flower clip holder}


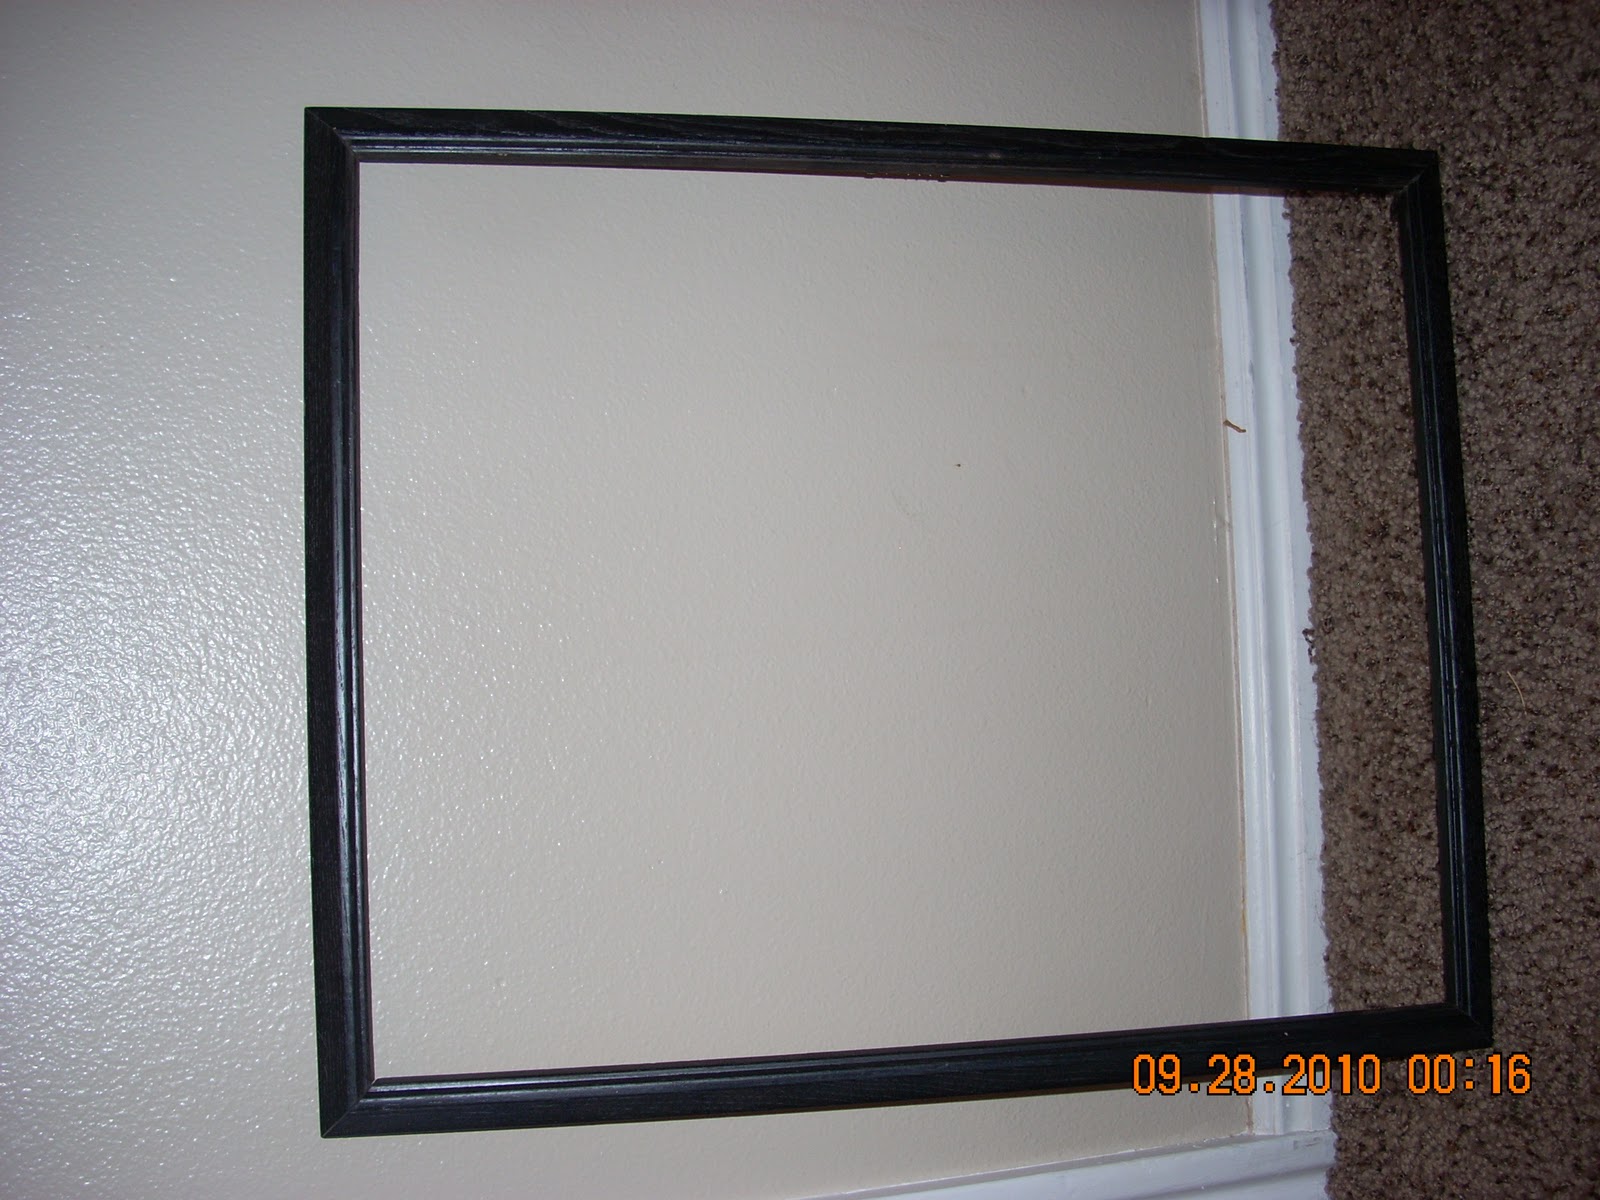
I started with a frame I got for like $2. Spray painted it black & removed glass & backing.


Took some extra pink fabric I had laying around. Cut it to the size of the frame.


I then took some ribbom & attached some lunch sack to the back.
I did this to make the ribbon sturdy & a little bit thicker so that the flower clips would stay on there. 


Hot glued the ribbon to the back of the frame.


Hot glued the fabric to the back of the frame. 


Then you are ready to clip your flower clips to it. :)


Tuesday, November 2, 2010

{DIY Pore Strips}

What you need:
1/2 Teaspoon unflavored gelatin
1 Teaspoon milk
Small microwavable bowl
Makeup brush or clean paint brush

What you do:
Add the gelatin & the milk in the bowl 
Microwave for 10 seconds
Mix together & paint on wherever you have blackheads
{Make sure to clean your brush right now or it will be a sticky mess}
Let set for about 10-20 minuets or until completely dry
Peel off.
Thats it your done. EASY!!

I would recommend putting a warm washcloth on your face prior to applying the mix just to loosen the debris and aid in removal.

This will cost you next to nothing too!
One box of Knox gelatin is just $2 with four packets inside.  Each packet will make 5 batches with enough to cover your chin and nose (and maybe even a buddies too) which comes to a whopping total of 10 cents a treatment or 5 cents each nose and chin strip!  
{ Fabric Wreath }


I Just took some newspaper & made a round "frame" for me to tie the fabric around.
 You could use basically anything that you wanted for the frame. You will want to make sure though, that it is small enough to tie the fabric around.
{A lot of people use a wire hanger}
I wanted mind to be a little bit thicker than a hanger.

 I cut about 6''x1'' strips of fabric. I tried to make them a little bit less than perfect though.


Then tied the strips to the news paper frame. 


Until I had the whole thing covered. 

 I then tied some black ribbon around it for Halloween. I am planning to take the black ribbon off now that Halloween is over and add some fall colored ribbon.
You can also tie ribbon to it to hang it from.

There are 100,000 ways that you can make it unique. Christmas colored ribbon, Valentines, Easter, 4th of July, fray the ends.... the possibilities are endless!
I'm excited to make more for the upcoming holidays! 


Monday, October 11, 2010


The weather is turning cooler...
The leaves are changing colors...
Theres footballpumpkins, and the smell of crackling wood stoves is in the air....
This could only mean one thing...
Autumn is here!

Which also means Halloween
is right around the corner!

This is, hands down, my most favorite time if the year.
My creative juices start to boil...
& I go crazy
(at times i've been known to go a "little bit" overboard with decorating my home, making crafts, & making way way too many Halloween treats)
I can not control myself.
I spend way too much money & time on Halloween & Autumn.
AND I must admit...
I LOVE every minuet of it.


I also know it has been way too long since I have posted any of my crafts that I have done in the last few moths, with summer & work...we were always on the go. I think we spent a total of maybe 4 weekend home.

Now that its starting to cool off and we only have a few things planned {so far} for this fall. I have been crafting and baking like crazy.
So after a long {Blogging vacation} I am back and excited to post what I have been up to the past few weeks. Stay tuned & I hope you enjoy! :)


Friday, January 22, 2010

So..we (as in my work) just got a new office, witch means we need to organize the sterilization room, and the operatories. We have also been traveling a little bit too, so I have gotten the opportunity
to see how other offices organize their stuff, because there is a lot of little things, and its a crazy mess
when things are just put in random places, and everything just runs soo much smoother and faster when
things are organized and you know where everything is. So what I have decided to do,
(since a sterilization room is very similar to a kitchen) To blog the how we have organized it.
I figure finding ways to organize at the office will help me find ways to organize my house. (and
everyone else too). So make sure to keep checking back too see what we have done. :)

Tuesday, December 8, 2009

{ Love wood letters }


Some wood letters from roberts, and some polka dot paper.
I tryed something different this time, I hot glued the paper to the letters instead of modge podging.

Cut the extra paper off from around the edges
and sanded the edges


then I painted the sides with a dark grey.


Hot glued some grey ribbon to the backs and then tied them at the top and hung them up in our bedroom above our bed.


Im not sure that im done with it quite yet, I think im going to hang them from a board.
But for now it will work just fine. :)


Saturday, December 5, 2009

{ HO HO }


Wood letter. You can get these at Roberts, Michaels, Walmart, probably any craft store.
I like the ones from walmart because they are already painted white, and they are cheaper.

I painted the front surface red, and then I used the end of the paint brush to do the white polka dots.

I used clear nail polish and went over the polka dots, sprinkled white glitter on them.


Hot glue ribbon to the back of the letters.


This is what I have been up to lately,
Making card, making cards, & making cards.
I wanted to make all of my chirstmas cards myself this year.
& I love it!
I am going to start making a bunch of cards for christmas, thanksgiving, birthdays, etc...
and just have them on hand for when I need them.
{ Christmas Tree Ornaments }


I bought some clear ornaments from Roberts


Then I put christmas words on them using scrapbook rub-ons.


This is where it got interesting...im not exactly sure what I did, I kinda just experimented with Elmers glue, water, & white glitter.

I mixed 1 part glue with 3 parts water (I would recommend using 1 part glue and 2 parts water)

Poured the mixture into the bulb and then poured glitter into it, swirled it around untill the whole inside was covered.

I had to do it several times, I would let it dry for a while and the come back and do it again.


*Make sure you take the tops off first*


Im not a huge fan of gold (actually I hate gold!) so I painted the tops white, with craft glue.
Im sure white spray paint would work too.


I let everything dry overnight && hung them on my tree.

I think I still want to find some white stuff that looks like snow to put inside them too, to make the words pop out.